 Binocular Mount
When you ask most amateur astronomers (or me) which telescope we recommend for beginners, we will all tell you what you don’t want to hear: don’t buy a telescope first. Buy a pair of binoculars, learn the sky, and then buy a telescope. But that isn’t the answer you wanted, so you go buy a telescope anyway. I understand. I’ve been you. So, if you aren’t going to listen to me: here is my advice on what telescope to buy as a first telescope.
If you are going to listen to me (Hooray!), you may have noticed the gaping flaw in my plan: binoculars are very hard to hold steady, almost impossible in fact. At the end of this article** I’ll tell you the story of the 5-year-old Alice and the shaky binoculars. They do make tripod adapters for binoculars, but they require your binoculars to have certain built-in features. I’d rather you just grabbed the closest pair of binocs and started stargazing. The only truly versatile mount I saw costs at least $50.
I don’t have $50 to spend on something that is supposed to be a quick and cheap introduction to assisted stargazing. I also couldn’t find a guide for building such and item, so my husband and I created one.
Instructions for Building a Binocular-to-Tripod Adapter
I have tried to give the simplest instructions here, aimed at using whatever you have on hand and coming out with a clean finished adapter. You can make this as complicated and fancy as you want, or you can hack it together in fifteen minutes with plywood and glue. Use the skills you have.
Materials
- Binoculars
- Tripod with quick-release plate *
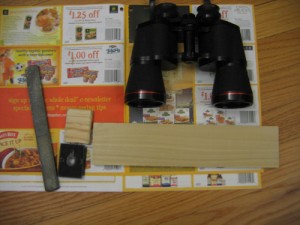
- Small piece of scrap wood (larger than the quick-release plate)
- Medium piece of scrap wood (longer than your binoculars are wide, and narrower than they are deep)
- Two screws (long enough to go through both pieces of wood, thin enough not to split the wood)
- Two fasteners (zip-ties, heavy-duty twist-ties, velcro straps, bendable coat hangers – whatever you have around)
Tools
- Saw (for small cuts on wood and cutting through the screws)
- Wood file (you could also use this to finish your screws instead of the saw)
- Drill
- Pencil (or other way to mark the wood)
Directions
Step 1 – Create a new quick-release plate.
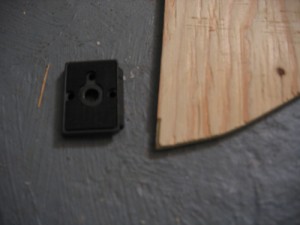
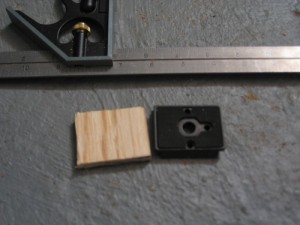
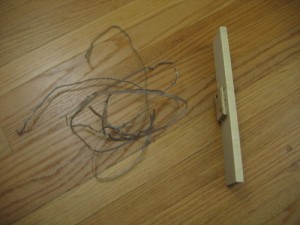
Remove the quick-release plate from your tripod. Cut a piece of the small scrap wood that matches its dimensions as exactly as possible. It is okay if the wood piece is thicker than the quick-release plate, but it cannot be thinner, and the edges must be exactly the same to get a solid lock.
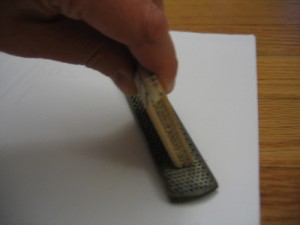
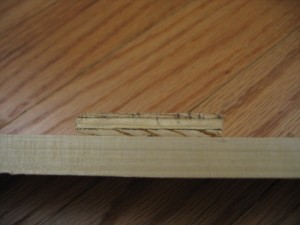
File the angled sides to match the angle of the sides of the quick-release plate. This is where the tripod is going to lock down the plate, so you’ll want to test your angles by inserting the new wooden plate into the tripod head. When it fits neatly and locks firmly into place you’ve done a good enough job.
This is where I had the most trouble. I found that by resting the file flat and holding the wood at the correct angle I was able to file off enough to make my new plate fit.
Step 2 – Attach to the support for the binoculars
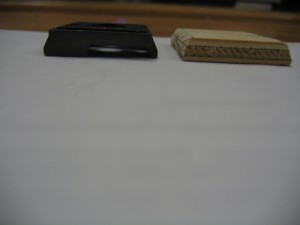
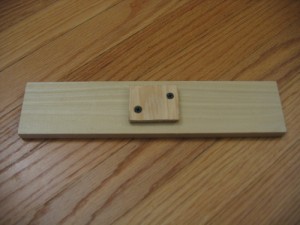
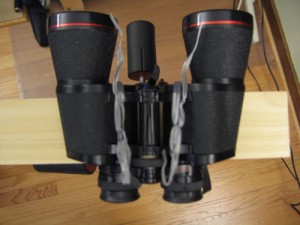
As you can see, I’ve carefully chosen a block of wood that is not as deep as the binoculars so there is room for my nose, and it is wider than the binoculars so I don’t have to be too finicky about exactly where I attach the binocs when I get to that step.
Now attach the new plate to the wood you’ve chosen as a support for your binoculars. It should be centered both ways.
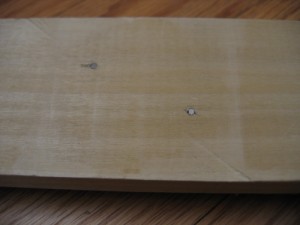
Drill two pilot holes for your screws – you don’t want to split your wood after all that work you put into the new plate. If you put them towards opposite corners you’ll get a nice solid connection, with no chance of slippage or spinning. We also countersank our screws, which you might want to do because it keeps the bottom of your quick-release plate flush with itself.
File off the ends of your screws so they don’t poke up and scratch your binoculars.
Ta-da! You’re done!
Oh wait – you want to know how to USE it now?
Step 3 – Using your finished mount
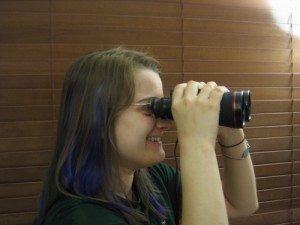
Pull out your binoculars and point them at something far away. Focus them and get them all nicely-adjusted for your eyes. It is important that you do this first, or you may end up fastening your binoculars in a position that is out-of-alignment for your eyes.
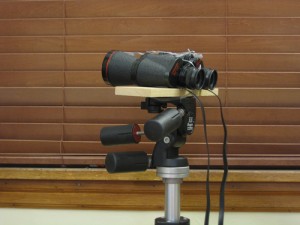
Attach the mount to your tripod, and rest the binoculars on the mount. Loop your fasteners around the middle of the binoculars and underneath the mount. Fasten them securely, but not so tightly as to change the careful adjustments you made to focus and align the binoculars.
Check – do you feel comfortable tilting the tripod head from side-to-side and up and down with the binocs attached the way they are? If not, you need to fasten them more securely. If so, then take it outside and start looking up!
Notes
*No quick-release plate?
If you have a tripod that does not have a removable quick-release plate, you’ll need to attach a 1/4 by 20 nut in the middle of the support wood instead of creating a wooden quick-release plate. (To get the right size nut, just take your tripod either to your stash of random fasteners or to the hardware store and find one that fits it – though 1/4 by 20 is almost entirely standard). I had a thought about this involving a hexagonal hole exactly the size of the nut and some amazing glue. This to That recommends LePage’s Metal Epoxy. I didn’t go through with this idea, so the execution is left as an exercise to the reader. please let me know if you come up with an easy and functional solution!
**Alice and the Shaky Binoculars
The year was 1986. The month was cold. One night, Mom and Dad bundled 5-year-old Alice and her baby brother, Nils, into the car. Maybe Uncle Ron came too, or maybe he was in a different car. In any case it was clearly a big occasion. Together they drove and drove and drove. The night got darker and darker. Finally, they all pulled over on the side of a steep hill. Alice got out of the car while Mom and Dad got Nils.
Dad got out some binoculars. Mom reminded Alice that we were looking for Halley’s comet. The only thing that really mattered about Halley was that of everyone on the hillside that night, only Alice and Nils would get to see the comet twice.
While Mom turned Nils to face the sky, Dad crouched down to help Alice look through the binoculars. A shiny white object streaked and wobbled through the field of view.
“I see it! I see it!” said Alice, excited.
Once everyone was thoroughly cold, they all got back in the car and drove home – possibly stopping at Shari’s or Denny’s for something warm to drink.
That memory is still with me, which is the most important part of the whole experience. Now I know that wasn’t Halley’s comet I saw in those binoculars, it was a star, or maybe even a streetlight – wobbling past because I couldn’t hold the binoculars still enough. If only we’d had this binocular tripod mount!
At least I know that some of the photons bouncing off Halley’s comet did bounce into my eye, just not enough of them for my brain to register. Oh well, next time. Here I come 2061!
Have fun with your new binocular tripod mount!
![]()
~ A l i c e !

